Baked Cheese Crisps


Baked Cheese Crips
Move over potato chips. Get out of the way crackers. Salty and crispy like a good chip or cracker should be, these cheese crisps just might take the place of your favorite chip or cracker. We’re all looking to reduce the amount of useless carbohydrates in our diet and this one is a winner. In my work with bariatric patients who need to reduce carbohydrates to just 30-40 grams per day, there simply is no room for carbs that don’t offer much nutritional value. We’ve been promoting baked cheese crisps for years as a suitable much more healthy alternative to the crunchy salty snack. They’re high in protein, vitamin B-12, D, calcium and magnesium-all the nutrients found in a glass of milk.
There is more than meets the eye to making these lovely little lacy creations. First of all you must line your baking sheets with parchment paper. Do not try to use foil or cooking spray. You don’t want to be scraping off cooked-on cheese from your baking sheets. It is murder. Secondly, mound the cheese in single-layer circles rather than pyramid shapes or else they will be uncooked in the middle and rock hard on the edges. I like to blend in different spices with the cheeses for a variety of flavor hits like chili powder, cumin, garlic, rosemary, Herbes de Provence or basil.

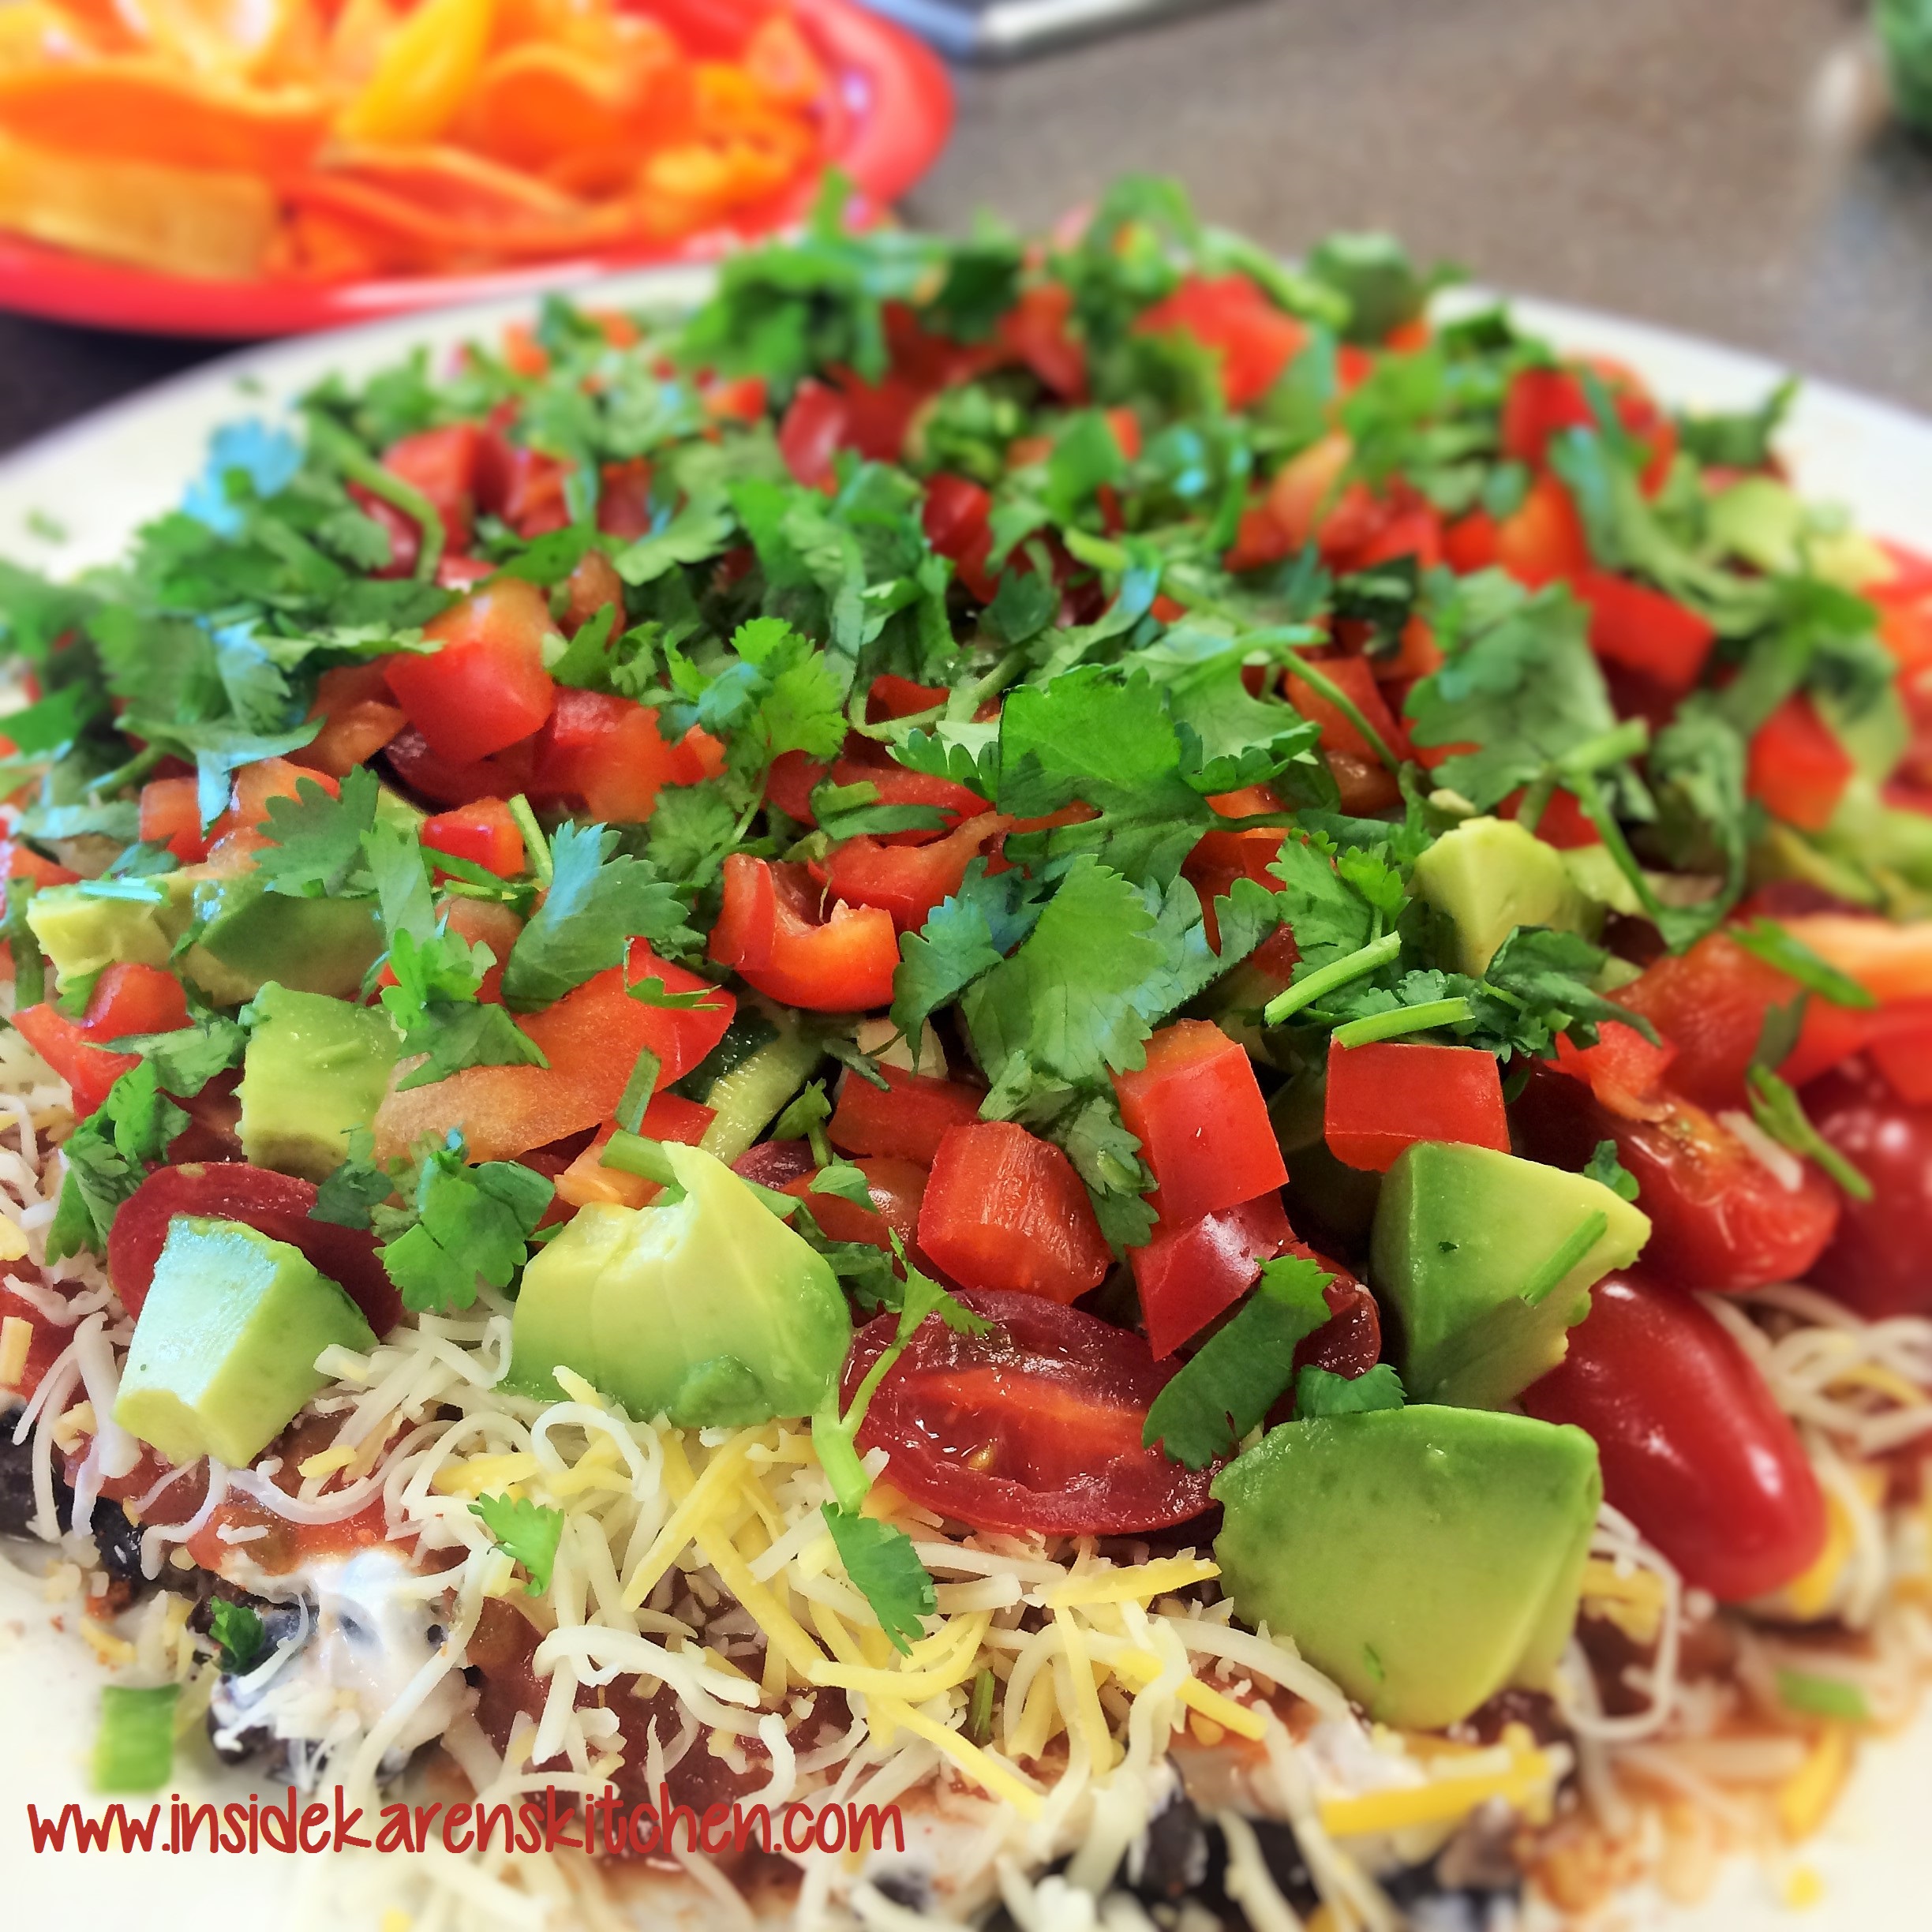
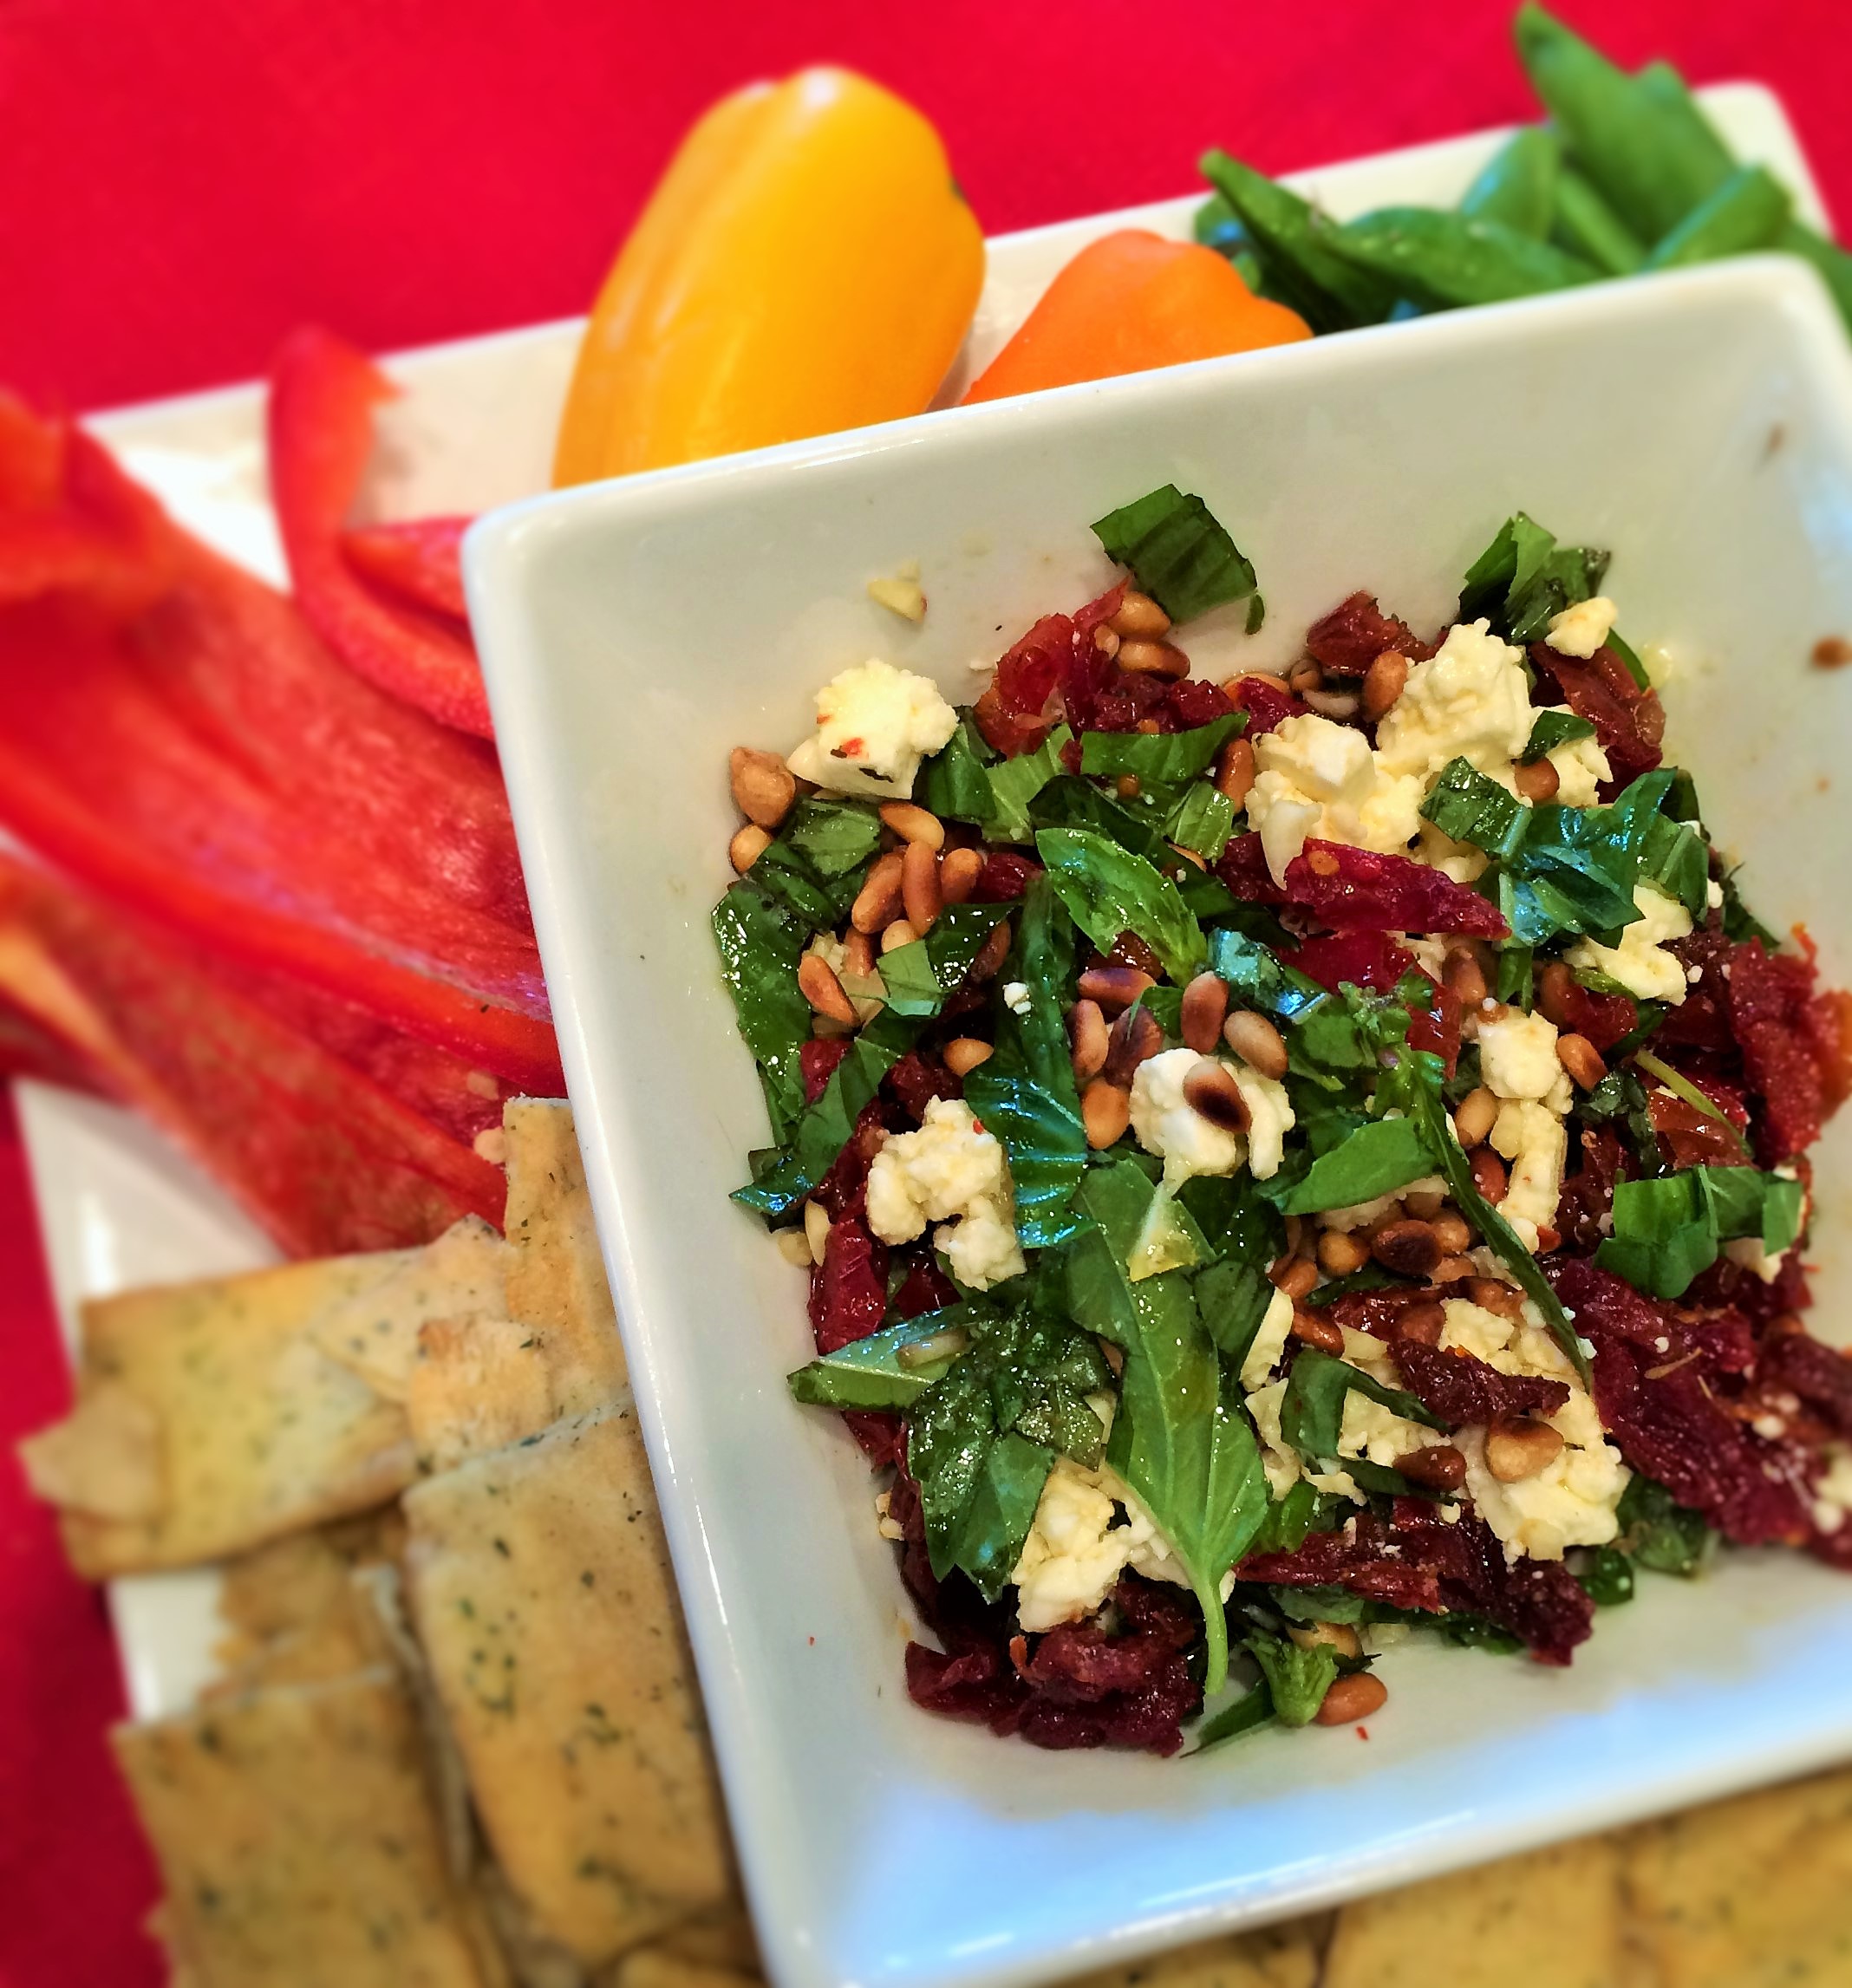
Cheese crisps are great eaten by themselves or like any other chip or cracker, used as a dipper for salsas and bean dips like the Fiesta Black Bean Salad with Avocado and Lime (I just left out the lettuce to create the salsa shown here). See more suggestions for dips and salsas below. You could also use as an appetizer topped with dill- seasoned cream cheese and cucumber or feta cheese and sun-dried tomatoes.

- ½ cup grated hard cheese such as Parmesan, cheddar, or Mexican blend cheeses (about 2 ounces)
- Heat the oven to 350 degrees F, and line a baking sheet with parchment paper. Form about 1 tablespoon of the cheese into a thin circle on the parchment paper; repeat with the remaining cheese, leaving 2 inches between circles. Bake until the cheese is golden brown and lacy, 12 to 15 minutes. Cool on the baking sheet, then serve.
You might also enjoy:
Sun-dried Tomato and Feta Cheese Dip
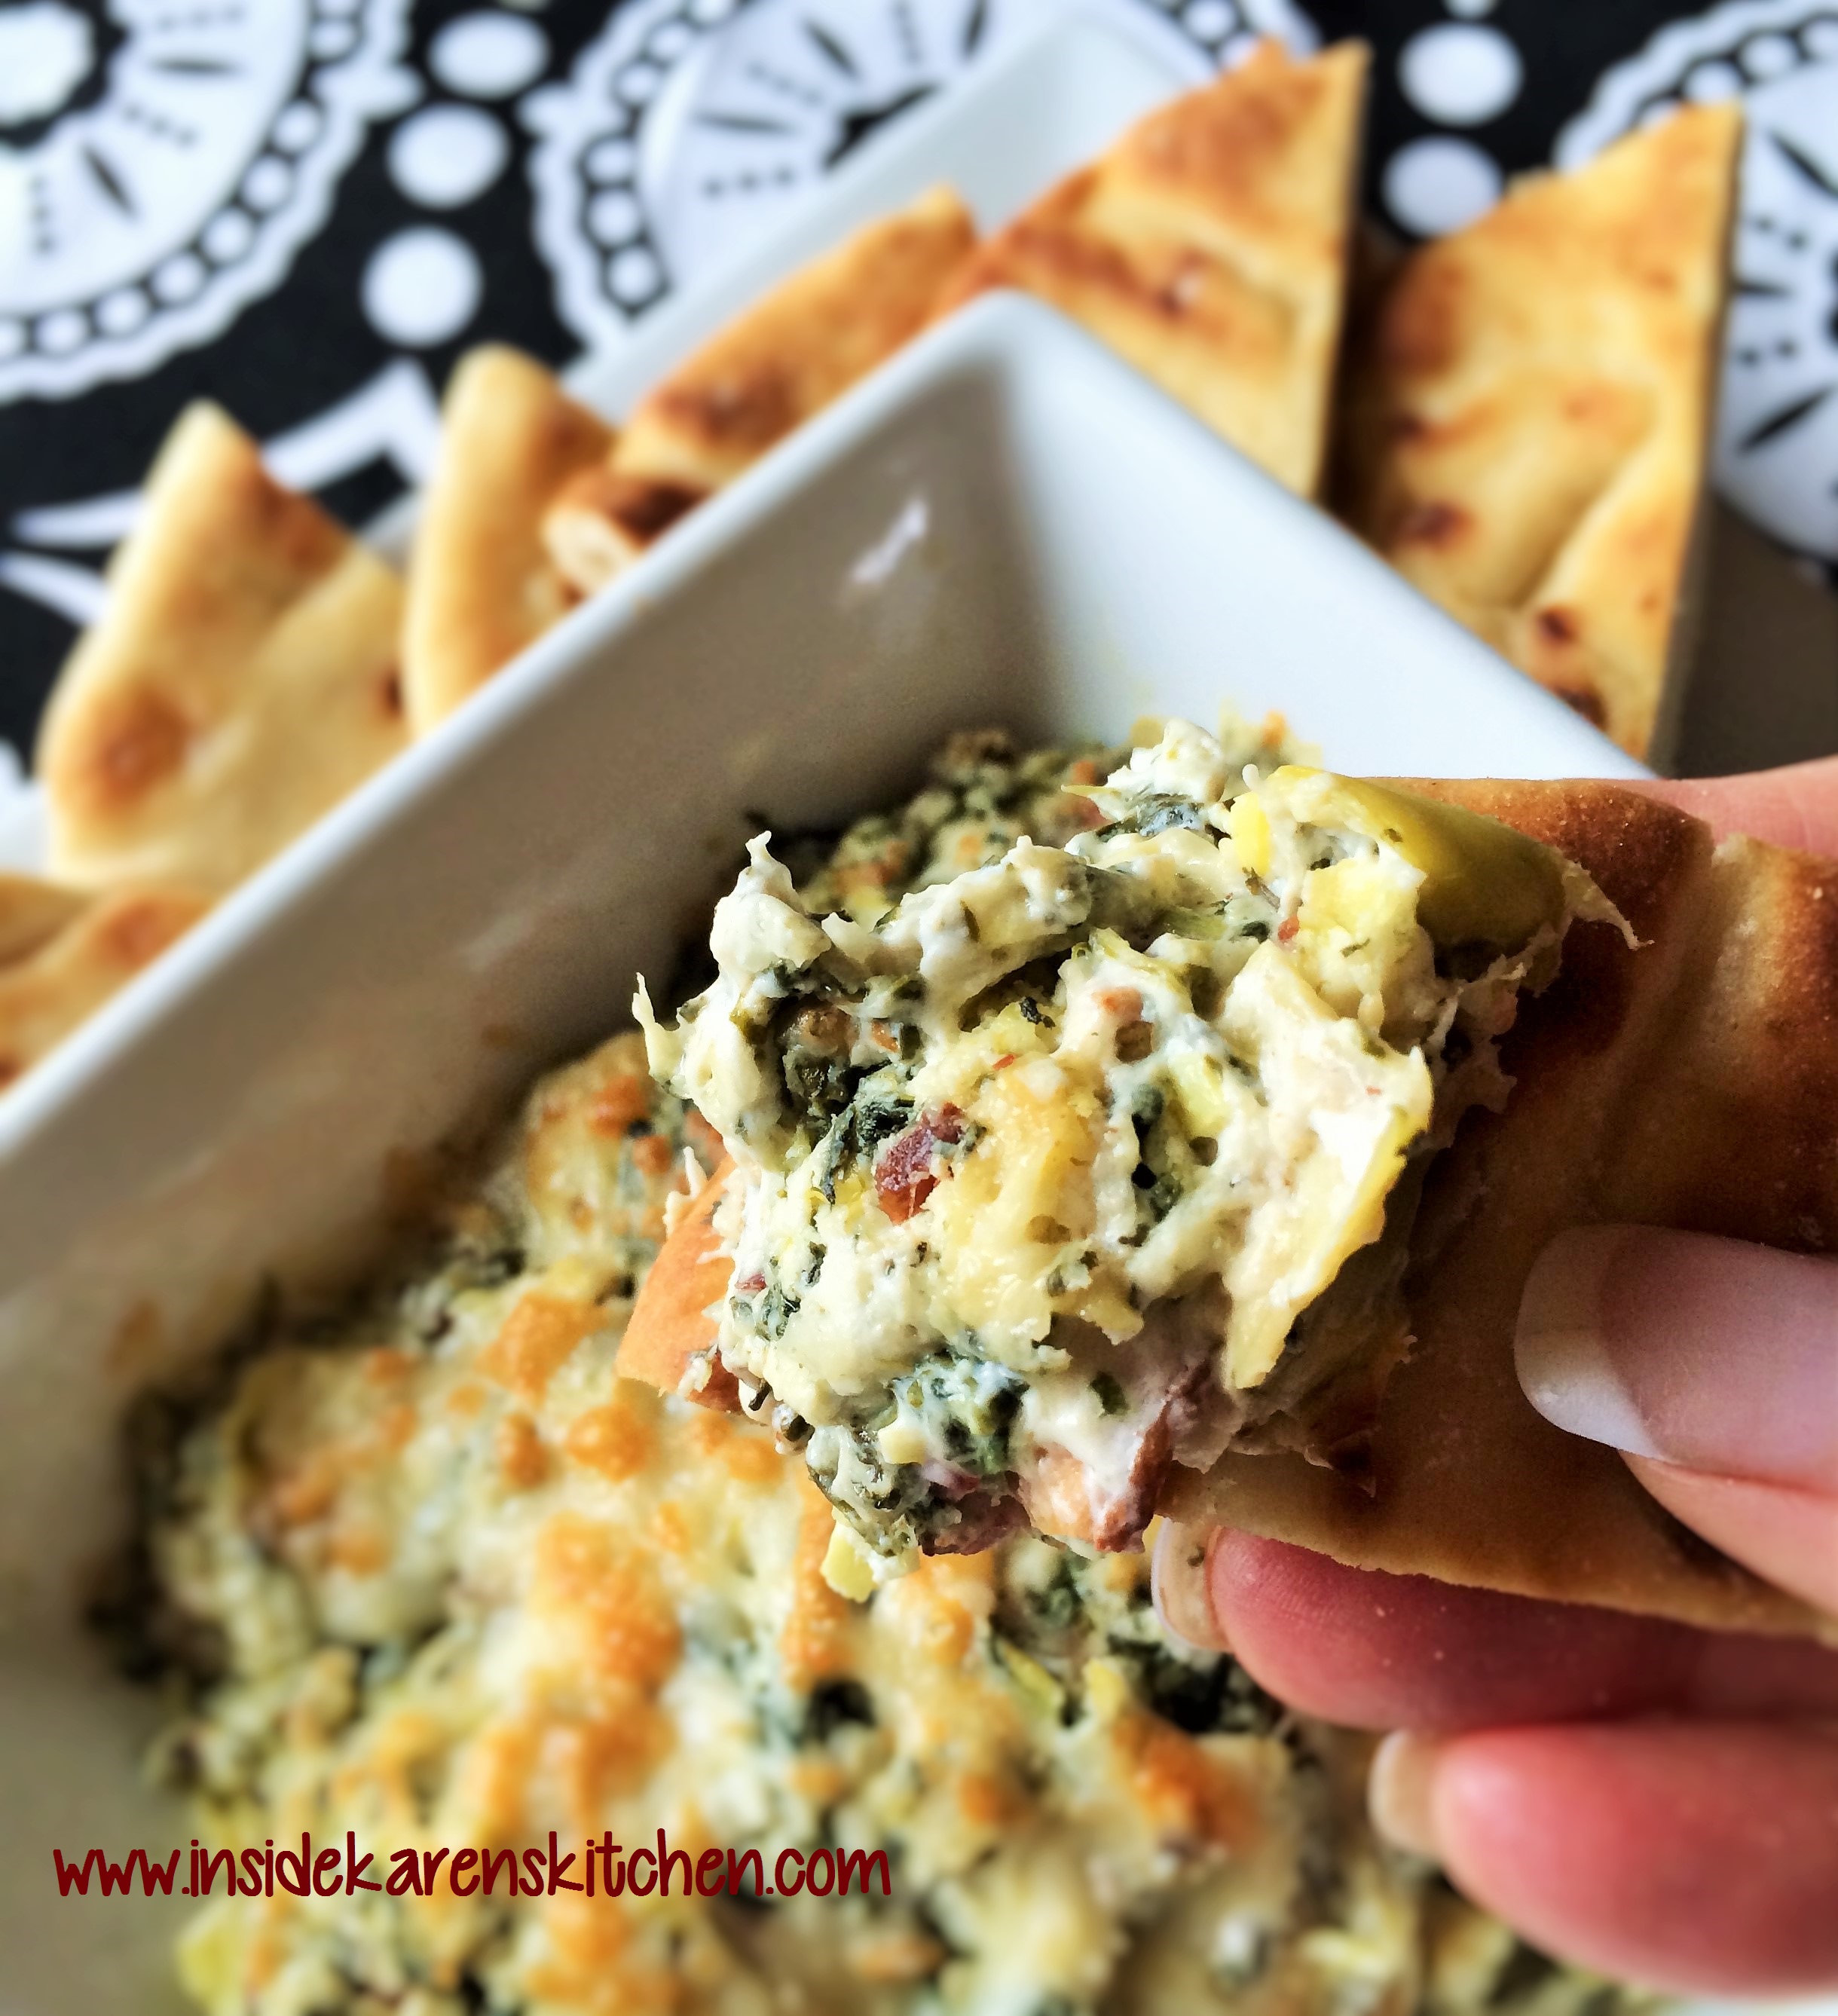
Artichoke Spinach Dip with Bacon
Pete
12 minutes at 350 burned them badly. Try 8 minutes.
Karen
Pete: Every oven will differ in their cooking temperatures and also how thick or wide you pile your cheese mounds will also make a difference. Thanks for giving them a try. Everyone loves these crispy little bites.
Anonymous
I use a stone to cook on with temp at 350 for about 8 to 10 minutes but if I use cubes then the temp is 375 for about 15 minutes.
Karen
Great suggestion. I love using my pizza stone and this is a great use of it. Thanks for commenting.
Anonymous
It clearly says cook time is 7 minutes. Prep time is 5 minutes.
Jon
The summary and directions conflict. One says 7 minutes cook time, the other says “Bake until the cheese is golden brown and lacy, 12 to 15 minutes.”
Karen
Hi Jon: I’ve never noticed this before. Thank you for bringing this to my attention. I’ve made the change to the summary to reflect the actual baking time of at least 12 minutes.
Karen
Awesome idea we made them with pepperoni the kids flipped we dip them in pizza sauce the kids beg for them we don’t even buy pizza anymore thanks for the idea
Karen
I’m so glad you’re enjoying these Karen. They are so quick to make and high in protein. I love the dipping in pizza sauce idea. I hadn’t thought to do that. Yummy!
Cindy Obermeyer
Karen – If I make them, how do I store them if we don’t eat them all right away – refrigerate?? Or in a zip lock bag? Thanks – love them!
Karen
I store mine in a zip-lock baggie or other air-tight container. I love them too! And so easy to make!
Amanda
I wish you showed a photo of them pre-baked!
Karen
Hi Amanda: You’re right that would be helpful. I just take a little amount and make a circle on the parchment-lined baking sheet, then flatten it out with my fingers to about a 3-4 inch diameter circle depending on how much I piled on. Sorry if it’s not clear. I’ll work to take a picture and add it to the post. Karen
Lori
When storing in an airtight container, do you then refrigerate them or keep them in the cabinet? I refrigerated mine, but then they were no longer crispy.
Karen
I keep mine unrefrigerated, and in a stored container they should keep up to a week.
debrah
Excellent!!!! Love em, and so simple to make! Move outta that way, potato chips 🤗
Karen
Ha Ha! I totally agree with you. I love the crunchy salty texture. Just what you need when the potato chip craving strikes.
Billy
I came to this page for seasoning advice, and I improved my recipe because of it, so thanks!
But I don’t know what the original author was thinking saying “you must line your baking sheets with parchment paper” “You don’t want to be scraping off cooked-on cheese”
That makes me think she’s never made these before….. When you bake them, tonnes of oil comes out of the cheese, and theres no way they’re going to stick to the pan. I’ve made several batches now, and the WORST case, I had one start to break when i tried to stick my spatula under it. So I set the whole pan aside and dealt with another for a minute. SECONDS later as they started cooling, I could hear cracking noises. Either the pan or the cheese shrank, and they all popped free of the pan ON THEIR OWN! Don’t rush it. Let them cool and they come loose automatically!
Just make sure you cook them long enough that they’re crispy and hard and not still gooey.
I cooked at 350 for ten minutes, then bumped it up to 400 for a couple min when I wanted them to finish. After a minute or two at 400, you will smell/see when they start to smoke, and right when the edges start to darken is time to take them out.
You can also test poking them in the oven with a toothpick, when they start to stiffen up is when they’re done. You can also tell by when they stop bubbling.
Karen
Thanks for sharing your experience with the baked cheese crisps. I love these! I’m glad you’ve found it easier to bake on the sheet itself. I’ve tried it both ways and prefer the parchment paper method. After cooling they come right off and then you just throw away the parchment paper. But I appreciate your tips! Very helpful!
Sparky Balboa
I also bake mine on parchment paper…one roll is $1 at Dollar Tree! No cleanup!! I did find out that parmesan ones are about 7 min at 350 but cheddar cheese are much longer…so next time I will do at 400. ALSO, if while still warm you drape them over an upturned glass they will droop and conform to that shape and you will little cups of crisp cheese to fill in with salsa, guacamole, etc. What’s not to love! 🙂
Karen
Great idea to drape over a cup before cooling. And thanks for the Parmesan cheese adjustment; it might be a moisture thing. Thanks, Karen
Billy
Also, a tip about cleanup. It’s tempting to wash the pans right away. But if you let them sit, the oil will congeal, and you can easily scrape it up with a spatula and throw it in the trash. WAY better than letting it go down the sink! The oil that comes out of the cheese gets very solid at room temp. I loathe to think what it would do to my plumbing.
Terri
Love these as I am currently on low carb diet and these are a perfect low carb snack! I also added some ranch flavoring and barbecue flavoring, just like eating chips!
Karen
Oh I love the ranch and BBQ flavor idea. You’re showing just how versatile these baked cheese crisps really are. Thanks for sharing.
Trisha
I made these in 400 degree oven and cooked for about 6 minutes. They came out perfectly crisp. Oh by the way, I used parchment paper but it didn’t go the the edge of my cooking sheet, so a few of my crisps melted off the edge of the parchment paper. The ones on the parchment paper slipped of easily. I had to take a spatula to the stuff that had spread off the paper. Oh and another hint, place the crisps on a layer of paper towels when the are cool enough to remove from your cooking sheet. It is amazing how much oil seeped out!
Karen
Great suggestions Trisha. I hadn’t thought to pat them with the paper towels to remove additional oil. Yes, the parchment paper is a must!! Thanks for commenting.
Brooke
Oh my holy Thor!!! These are incredible. I’m almost 4 weeks post op and these are seriously amazing! Kids are loving them. Timing and temp was perfect for my dodgy oven. Currently being my 3rd batch so I have some snacks 🙂
Karen
So sorry I missed your comment. I’m so glad you made these. Aren’t they the best snacks around? I like to season them with some taco seasoning or garlic powder.
D.A.
Lined cookie sheet with parchment, then laid down my cheese. I’m in TN and 23 min at 325 was perfect. Took the tray out, set aside for 5 min and every one popped off perfect.
Karen
Excellent! I love these cute little crisps. They satisfy the salt and crispy cravings! Thank you for sharing your experience in TN. You have a lot more humidity there and that may make a difference.
Nicole
So easy and delicious!!! I am loving them. So much economical than buying them at the store.
Yummy!!
Karen
Agree with that. When I first posted this recipe, store-bought versions were not easily found. They’re now super popular, but so easily made at home! Glad you’re enjoying them.
Kathy
I use large silcone muffin cups & about 1/2 oz. shredded cheese in each cup. Also cover with parchment paper so it doesn’t splatter the inside of my oven. Pepper Jack & smoked cheese are my favs.
Karen
Love this idea. The silicon muffin cups is brilliant idea. Thanks for sharing.
Daniel Wasil
Sandwich two with a sauteed mixture of olives, mushrooms, shallots and a dash of whatev (mustard, balsamic, basil…), voila!
Karen
Wow! Sounds so gourmet; who needs crackers! I love it!
Shen
What am I doing wrong? First batch stuck to the parchment paper. I was told to try dusting the parchment paper with almond flour (I’m on keto) and again, stuck to the parchment paper..any other suggestions? I allowed the cheese to cool off as well. I also baked it in 1 large square as opposed to the little circles so that I can cut the cheese into slices after. Do you think this makes a difference?
Shen
Nevermind….I was using WAX paper not PARCHMENT smh.
Hope this helps someone in the future lol WAX PAPER is a no no.
Karen
Hey Shen: Glad it worked out for you. I often learn by trial and error as well and yes, this will help someone in the future. Thanks for sharing your experience.
best iptv
Nice post.
Karen
Thank you! I love these little quick crunchy snacks.
Baked Cheese Crisps | Inside Karen’s Kitchen | yummyumm in a pinch
[…] Source: Baked Cheese Crisps | Inside Karen’s Kitchen […]
Austin
Hi. I just made my first batch used sliced cheese for 10 mins at 400 degrees. They were crispy on the outer edges but the inside wasn’t crispy. I also used foil and oil spray. Could that be the reason or is is the type of cheese or cook time?
Karen
There might be several things at play. Sliced cheese may be too dense so consider increasing cook time or even breaking the slices up into small pieces and arranging them in a tight circle. And yes the oil may be affecting the cheese to properly melt and crisp up. If you can use parchment paper it would be better. Let me know how it turns out.
Renee
Any tips on how to store these so they stay crisp? I put mine in a Tupperware container and they were soft two days later. Still delicious but I’d prefer them to be crisp.
Karen
I agree it’s hard to keep these crisp. Any air-tight container or plastic bag will help. Mine are usually gone before two days so I don’t have a ton of experience keeping them crisp. Good thing is that they are not hard to make!
Aisha Yahya
I have been making these for years, didn’t realize someone had a recipe out there!
I like to just slice cheddar cheese into small squares. This saves me time grating the cheese.
Then, I like to add a few things to the cheese squares. Place squares on baking sheet (parchment paper is a must), then you can do some of the following: sprinkle spices for different flavours; cut up olives and throw some on each square; throw a few pieces of fresh dill on each square…. anything you want to add, you can! My boyfriend likes to cut up some sundried tomatoes to add to the cheese squares. Then bake!
Bake time has always varied! It depends on the thickness of the cheese square pieces, and on how far apart they are. If the oils from the cheese stay on the cheese pieces because they are close together, then it takes longer to get crisp.If the pieces are far enough away that the oils just drain away, the cheese will get crisp faster.
Karen
I love all your ideas. Very creative! You are so right about the cooking time variations. Thank you so much for sharing.
marti
8/25/19 1/4 round is 4 point weight watchers. i cook them just slightly shorter or fold quickly and use as my taco shell. or tostada .
marti
correction 1/4 cup of cheese is 4 ww points.
J-Nifer
I do mine in the microwave! I use a silicone egg bite mold, put 6 to 7 grams of cheese in each well and microwave for 1 minute and 20 seconds. The timing will be unique to your microwave.
I was hoping you could give us the nutritional break down. They are fried in their own fat, but then drained, is there a “fat savings” ? I am also curious about the lactose content after cooking. These don’t seem to bother me but milk does.